Showing posts with label Bench Work. Show all posts

Sunday, 23 May 2010

well that didn't last long or even the tech can't solder


Well the latest update on the soldering is even the tech's can't get the solder to flow...Kevin thinks that there must be dirt or something under the wire to stop the solder flowing. He even tryed and above are the results of his effort!!...So now for the big clean up. Spoke to Brian the course leader and we spoke of the problems I'm having with the piece. We have come to the conclusion that its best for me to clean the piece up for the assessment on Thursday. He really likes the design and has suggested that I should develop it for the Goldsmith competition. To this end I will try and reverse engineer it into Rhino and then render it in Maxwell. So not all is lost.


Wednesday, 19 May 2010

Wow I can solder!! & CAD Day


Today was the final CAD with Leon, hopefully only until next September so as always was shown a lot of tips and how to render a two pound coin...just brilliant. As a bonus Leon give us some tutorials video on a memory stick to down load and use. So after yesterday where I could not solder the censer....I brought it home to clean up for another try tomorrow at Uni..but I thought well lets have a go at home...and well I got the solder to flow at long last...not sure why I can get it to work in my workshop and not at Uni..maybe its to do with the flame? as I'm more used to the one in my workshop.... well I'm just happy it going better.


Tuesday, 18 May 2010

How come I have forgotten to Solder!!


So how come I have forgotten to solder?....the day started really well..leant how to use the TIG welder...so use that to attache the nickel wire in place so to keep it in place while soldering them...but no I spent all day trying to solder the wire into place..and it will not flow...so been yet another frustrating day at the bench. Tomorrow is the last CAD day with Leon for this academic year, but I hope he will be back in September.


Monday, 17 May 2010

A better day

Today was a better day, at last got the three sides of the censer together with some help from Kevin who TIG welded the first two side together which allowed me to hard solder them together. Then the third side was again TIG welded in to place and then hard soldered. Still I'm having problems with the solder not flowing along the seam....I hoping when I put the 1.mm dia wire down each seam the solder will flow a lot easier...but that's for tomorrow.


Sunday, 16 May 2010

This is not as simple as it looks !!!

Well I spent all day on Friday working on the censer trying to get the angle (60%) for each side filed. So it was a very frustrating day and I'm having a lot of trouble getting the three side to line up so that I can solder them together. So hopefully Monday will be a better day


Tuesday, 11 May 2010

Tool Making


Today was making chasing tools day. The tools are made from 3mm Silver Steel rod. First the rod is cut to suit the hand, which in this case is 90mm. Then the rod was filed to the desired shape. The steel is then heated to a bright red then cooled in oil. Tech note if ordering steel for tool making get 01 (zero one) this steel can be cooled in Oil. After cleaning up the steel is then tempered by heating the steel with small hot flame (this was done by using a chef's torch). Starting at the top, the steel is heated until the steel turns blue but in front of the blue is a straw colour. The flame is then moved down the rod moving the straw colour to the chasing end. When the end is the straw colour the tool is again cooled in the oil. The chasing is now harden, to test if the tool has harden correctly the top should be too hard to file. If the tool can be filed the tempering process is repeated.


Monday, 10 May 2010

More Bench Work

Most of today was spent at the bench....working on the censer..today's new technique was a little bit of engraving. (note the cool plaster..the result of a slight cut)


Saturday, 8 May 2010

Bench work - Traveling Censer

first a template was made from aluminum of the pattern to be pierce out.


A line is then scribed on the metal using the template

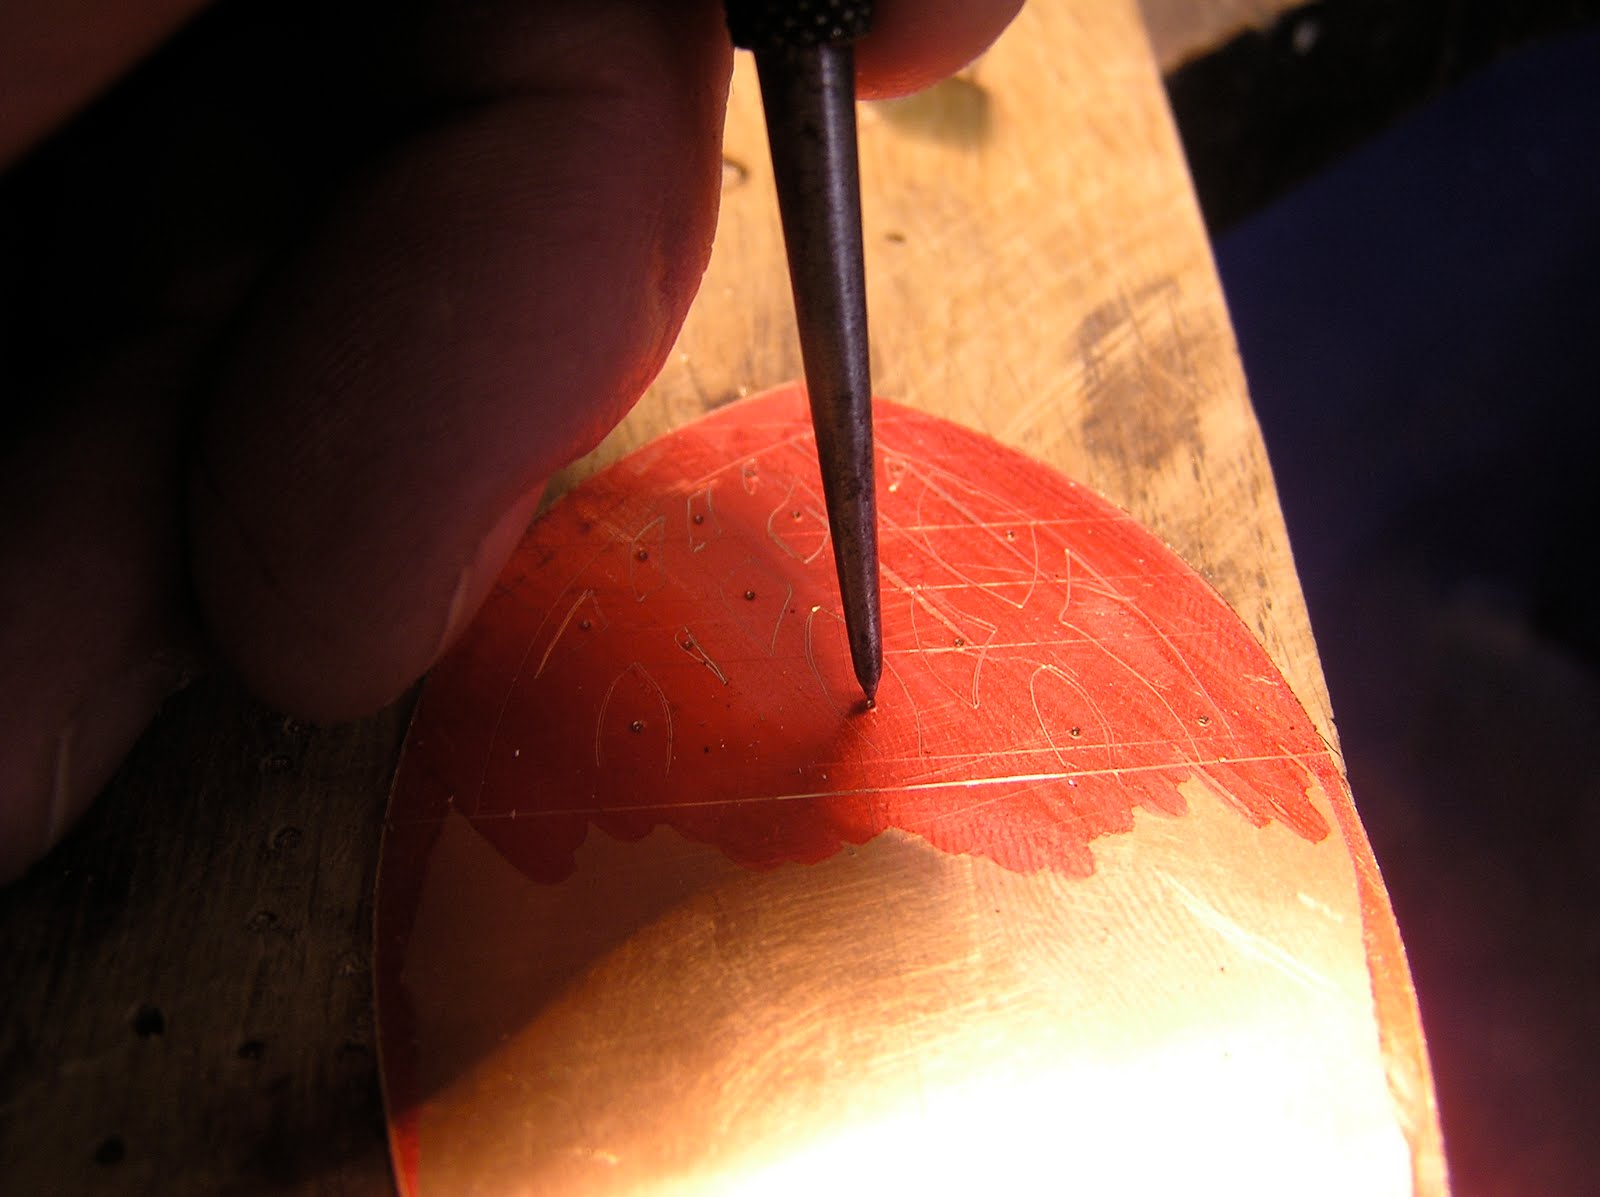
A indentation in the middle of each area that was to be pierced out. This allowed a 0.9mm hole to be drilled enabling a blade to pas through the metal.


Piercing out, later a deeper piercing saw was used to make it easier to cut out the middle sections